安装方式
Loongnix Server 操作系统 发布件 包括 ISO 发布包、虚拟机镜像、容器镜像和 repo 源。
1. 镜像校验
从Loongnix Server镜像站点下载 ISO 镜像时,同下载路径将有一个同名的 .md5 文件,该文件内容为 ISO 镜像的 sha256sum 值。为了避免网络原因或者存储设备原因出现下载不完整的问题,请务必在下载 ISO 镜像之后核对文件校验值是否一致!
2. DVD安装
如果您有高速网络和 DVD 刻录机,可以选择从 Loongnix Server 镜像站点下载 Loongnix Server 系统镜像,然后使用 Windows/Linux 系统刻录工具刻录镜像(推荐 Loongnix Server 自带刻录工具 brasero)。
3. U盘安装
大多数计算机能够从 USB 设备启动,因此您也可以从 USB 盘(小闪存盘)安装 Loongnix Server 系统。如果您有高速网络和大于 6G 的 U 盘,可以选择从 Loongnix Server 镜像站点下载系统镜像,然后使用 Windows/Linux 制作镜像工具制作,Loongnix Server 系统可启动终端,使用 dd 命令进行镜像制作。
镜像制作命令示例:
dd if=镜像文件地址 of=/dev 下识别的U盘设备 bs=8M && sync
以 Loongnix Server 8.4.0 镜像制作举例:
镜像文件为:/home/loongson/Loongnix-server-8.4.0.livecd.loongarch64.iso
系统下识别的U盘设备: /dev/sdb  (可通过fdisk -l或者lsblk命令查看)
镜像制作命令:dd if=/home/loongson/Loongnix-server-8.4.0.livecd.loongarch64.iso of=/dev/sdb  bs=8M  &&  sync
4. 网络安装
本节介绍 PXE 安装方式,并介绍相应的安装步骤,指导用户进行安装。
4.1. Loongnix Server PXE搭建手册
1 PXE 简介
PXE(Pre-boot Execution Environment)是由 Intel 公司开发的一项便捷安装操作系统的技术。PXE 工作于 Client/Server 的网络模式,支持工作站通过网络从远端服务器下载映像(images),并由此支持通过网络启动操作系统,在启动过程中,终端要求服务器分配 IP 地址,再用 TFTP 或 MTFTP 协议下载一个启动软件包到本机内存中执行,由这个启动软件包完成终端基本软件设置,从而引导预先安装在服务器中的终端操作系统。
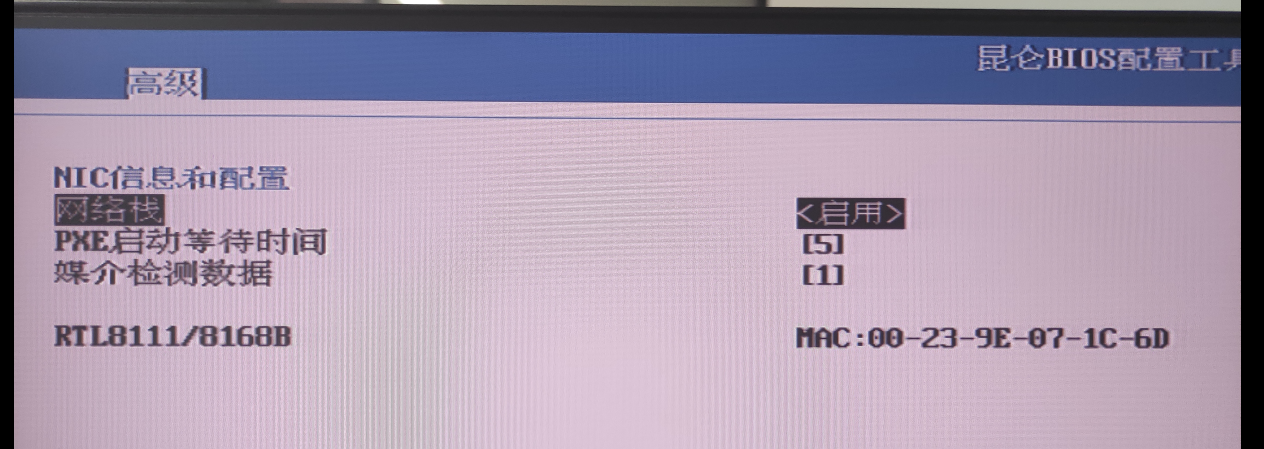
要使用 PXE 安装,需要固件支持 PXE 启动模式,安装之前需要确认固件是否支持 PXE 启动,昆仑 BIOS 支持 PXE 启动如下图:

2 PXE环境搭建
2.1 PXE启动目录设置
- 挂载 ISO 文件到 /mnt 目录
sudo mount Loongnix-server-8.4.0-loongarch64-dvd1.iso /mnt
- 创建PXE启动文件目录
mkdir -p /home/pxe/loongnix-server-8.4
- 拷贝 ISO 中所有文件到 PXE 启动目录(包括隐藏文件)
注意:根据需要修改目录文件的权限,确保其他机器可以正常下载文件。
cp -a /mnt/. /home/pxe/loongnix-server-8.4
- 在 /home/pxe/loongnix-server-8.4 目录下新建一个 ksdir 文件夹,然后根据第5章 ks 文件示例创建符合自己要求的 ks 文件,放置到 /home/pxe/loongnix-server-8.4/ksdir 目录下。
mkdir /home/pxe/loongnix-server-8.4/ksdir
3 搭建PXE安装所需服务
3.1 配置TFTP服务
- 安装TFTP服务
root# yum install xinetd tftp-server tftp
- 增加配置文件 /etc/xinetd.d/tftp,内容参考如下:
service tftp
{
       socket_type             = dgram
       protocol                = udp
       wait                    = yes
       user                    = root
       server                  = /usr/sbin/in.tftpd
       server_args             = -s  /home/pxe/loongnix-server-8.4  -c  -v
       disable                 = no
       per_source              = 11
       cps                     = 100 2
       flags                    = IPv4
}
3.2 配置DHCP服务
- 安装DHCP服务
root# yum install dhcp-server
- 增加配置文件 /etc/dhcp/dhcpd.conf,内容参考如下:
#/etc/dhcp/dhcpd.conf 中的参考配置如下:
option domain-name "loongnix.org";
default-lease-time 600;
max-lease-time 7200;
subnet 192.168.10.0 netmask 255.255.255.0 {
   ignore-client-uids on;
   next-server 192.168.10.1;                #指向TFTP服务器地址
   filename "EFI/BOOT/BOOTLOONGARCH.EFI";   #指向TFTP服务器上EFI文件位置
   range 192.168.10.10 192.168.10.20;
   option routers 192.168.10.1;
}
3.3 配置HTTP服务
- 安装HTTP服务
root# yum install httpd
- 配置HTTP服务
(1)方法1
修改 httpd 配置文件 /etc/httpd/conf/httpd.conf 的 DocumentRoot 和 Directory 信息(默认目录为 /var/www/html,修改为: /home/pxe):
#
# DocumentRoot: The directory out of which you will serve your
# documents. By default, all requests are taken from this directory, but
# symbolic links and aliases may be used to point to other locations.
#
DocumentRoot "/home/pxe"

#
# Relax access to content within /var/www.
#
<Directory "/var/www">
    AllowOverride None
    # Allow open access:
    Require all granted
</Directory>

# Further relax access to the default document root:
<Directory "/home/pxe">
(2)方法2
rm /var/www/html
ln -svf /home/pxe /var/www/html
3.4 修改主机IP
上面安装完成后,需要将主机 IP 配置为内网 IP,如上面设置的 192.168.10.1。需根据实际情况修改网卡名称
[loongson@bogon ~]$ sudo nmcli connection add con-name wire-3 type ethernet ifname enp3s0 ip4 192.168.10.1/24
[sudo] loongson 的密码:
连接 "wire-3" (7cc4ec31-00e8-483d-8d24-f8aa04e4b638) 已成功添加。
[loongson@bogon ~]$ sudo nmcli connection show
3.5 启动服务
- 启动DHCP服务
root# systemctl start dhcpd
- 启动TFTP服务
root# systemctl start xinetd
注意:使用 tftp 进行验证,确保 TFTP 服务正常可用!
- 启动HTTP服务
root# systemctl start httpd
注意:使用网页进行验证,确保 HTTP 服务正常可用!
- 关闭系统防火墙(或者配置相关规则)
root# systemctl stop firewalld
4 创建grub配置文件grub.cfg
grub.cfg 放入 /home/pxe/loongnix-server-8.4/EFI/BOOT/下(将之前已存在的grub.cfg覆盖),grub.cfg参考配置内容如下:
注意:此处引用了 ks 配置文件,完成自动化安装。
set default="0"
set timeout=60
search --no-floppy --set=root -l  'Loongnix-server-8.4-8.4.0'
echo -e "\nWelcome to Loongnix server 8.4.0 (loongarch64) Installer\n"
menuentry 'Install Loongnix-Server Linux 8.4.0 (PXE)' --class fedora --class gnu-linux --class gnu --class os {
        echo  'Loading kernel ...'
        linux /images/pxeboot/vmlinuz ip=dhcp ks=http://192.168.10.1/loongnix-server-8.4/ksdir/loongnix-server-8.4.ks inst.repo=http://192.168.10.1/loongnix-server-8.4/
        echo  'Loading initrd ...'
        initrd /images/pxeboot/initrd.img
}
其中 inst.repo 后面的IP地址为 PXE 服务器的 IP 地址。
5 loongnix-server-8.4.0.ks文件示例
#version=RHEL8
# System authorization information
auth --enableshadow --passalgo=sha512
# Install OS instead of upgrade
install
# 设置网络启动url
url --url="http://192.168.10.1/loongnix-server-8.4/AppStream"
#创建repo
repo --name="Appstream" --baseurl=http://192.168.10.1/loongnix-server-8.4/AppStream
repo --name="BaseOS" --baseurl=http://192.168.10.1/loongnix-server-8.4/BaseOS
repo --name="epel" --baseurl=http://192.168.10.1/loongnix-server-8.4/epel
repo --name="PowerTools" --baseurl=http://192.168.10.1/loongnix-server-8.4/PowerTools

# 许可证协议
eula --agreed
# 使用图形界面安装
graphical
# Run the Setup Agent on first boot
firstboot --enable
#根据实际情况修改所使用的磁盘
ignoredisk --only-use=sda
# 键盘布局
keyboard --vckeymap=us --xlayouts='us'
# 系统语言
lang zh_CN.UTF-8

# 网络设置
network  --bootproto=dhcp --device=eth0 --ipv6=auto --activate
network  --hostname=loongson
# Reboot after installation
#安装完成后重启系统
reboot
# 时区设置
timezone Asia/Shanghai --isUtc --nontp
# 创建root用户并设置密码为loongson
rootpw --plaintext loongson
# 系统服务设置,selinux和防火墙设置为disable
selinux --disabled
firewall --disabled

# System bootloader configuration
# bootloader --append="net.ifnames=0" --location=mbr --boot-drive=sda
clearpart --all
autopart
# Partition clearing information

#可根据实际情况修改所需的软件环境
%packages
@core
@standard
@network-tools
# Disable boot optiosn "rhgb quiet"
# Note:  The installer will add the bootloader arguments "rhgb quiet" if plymouth
# is installed on the target system. You can disable these options with -plymouth
# in the %packages section.i
-plymouth
-plymouth-plugin-two-step
-plymouth-system-theme
-plymouth-theme-charge
@dial-up
@anaconda-tools
@base-x
@input-methods
kernel-modules-extra
%end


%addon com_redhat_kdump --disable --reserve-mb='auto'

%end
6 使用PXE批量自动安装 Loongnix Server 系统
将待安装系统的机器与搭建 PXE 服务的机器连接在同一局域网内。
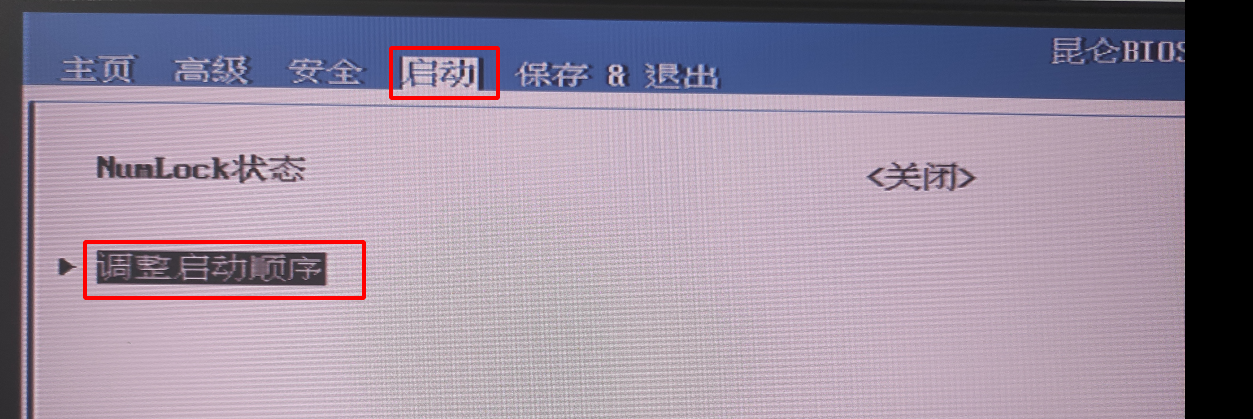
设置机器开机启动顺序为网络优先。如下图:昆仑 BIOS 启动后默认先从PXE启动,此时只需要开机即可,无需其他操作。

- 安装完成后,要断开机器的 PXE 环境,否则重启之后还是优先从 PXE 启动,继续执行安装系统的步骤!